I have a soft spot for the warm ritual of handing over a bright red envelope during Lunar New Year. Making Lunar New Year red envelope crafts turned that little moment into a cozy pause where paper, gold ink, and a cup of tea come together in a pleasing mess.
These ideas grew from evenings at my kitchen table, with tea stains and laughter beside a stack of colored papers.
Each project kept a handful of favorites that felt joyful to hold and easy to share with friends and family.
Handwritten gold calligraphy on crimson paper envelopes
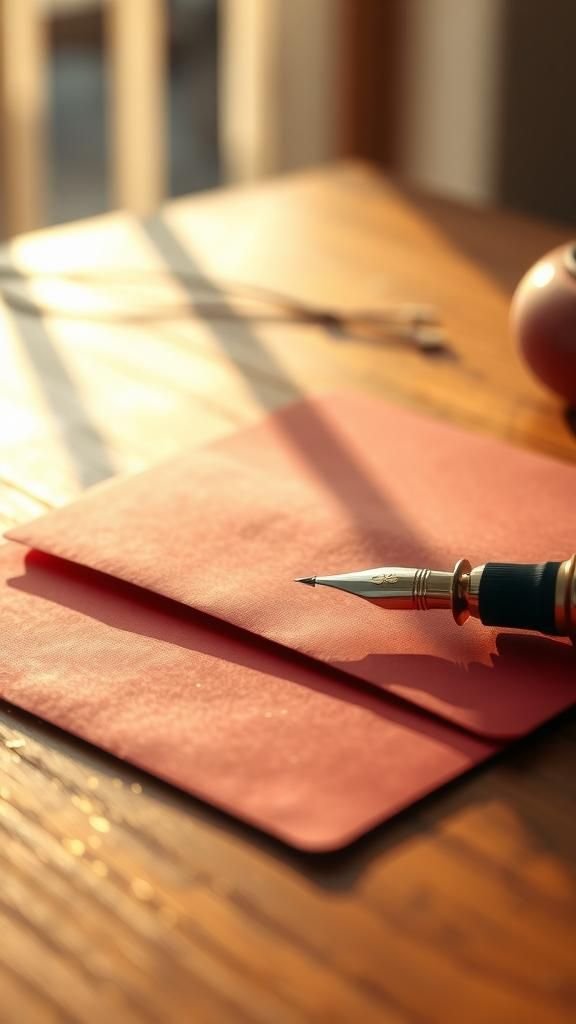
I remember the slow satisfaction of watching a brush glide across crimson paper, leaving a warm, metallic trail that catches the light. The paper has a soft tooth under the pen, and the gold ink smells faintly of solvents, like an old stationery shop.
When held at an angle the characters shimmer, inviting a quiet, reverent smile. My fingertips still carry tiny gold specks after a session, a tactile souvenir.
The finished envelope feels weighty in the hand, its gold strokes folding into shadows and light as it moves.
Steps
- Choose a heavyweight crimson paper and trim it to a rectangular envelope size.
- Lightly pencil a traditional character or phrase on the front for placement.
- Dip a brush pen in gold ink and carefully trace over the penciled design.
- Allow the ink to dry fully before erasing any pencil marks and folding into an envelope.
- Press along the edges with a bone folder for a crisp finish.
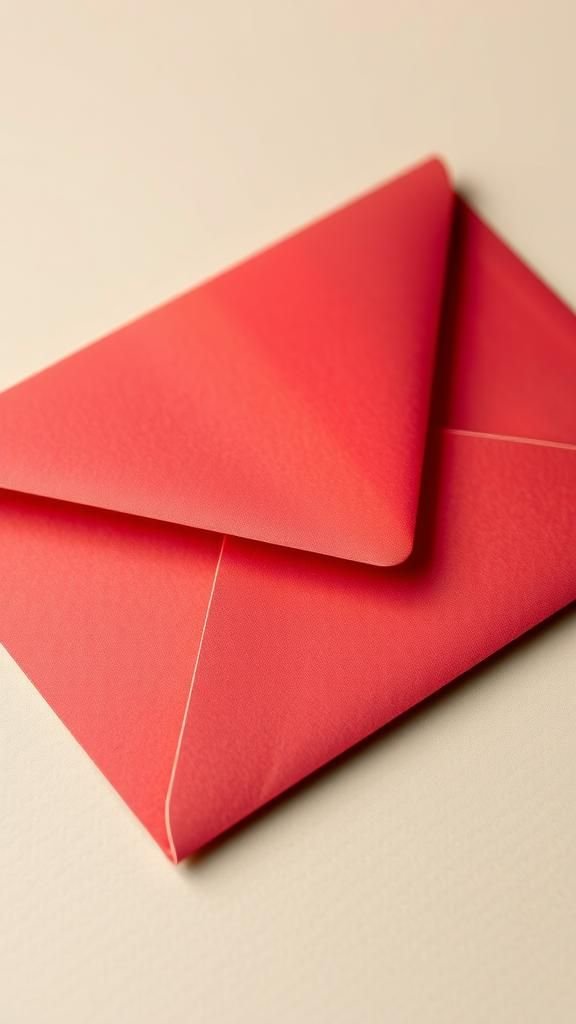
Folded ingot-style envelope that echoes ancient coins

There is a simple delight in an envelope that nods to old metal ingots, its shape compact and slightly plump. The paper folds create gentle creases that catch the light and suggest weight, like a tiny treasure.
I often choose a slightly fibrous red sheet so the folds feel organic beneath the fingers. The envelope curves into itself, making a small pocket that promises something special inside.
When placed on a table it leans with quiet confidence, and the soft shadow under its throat makes the gold edge look like a rim of metal.
Steps
- Select a square piece of red paper with medium weight and mark fold lines.
- Fold opposing corners toward the center to form an ingot silhouette and crease clearly.
- Tuck the lower flap into the top pocket so the shape holds together.
- Apply a thin strip of gold foil or metallic tape along the top edge as decoration.
- Smooth the outer surfaces to maintain the ingot curve.
Paper-cut window envelope with delicate floral silhouettes
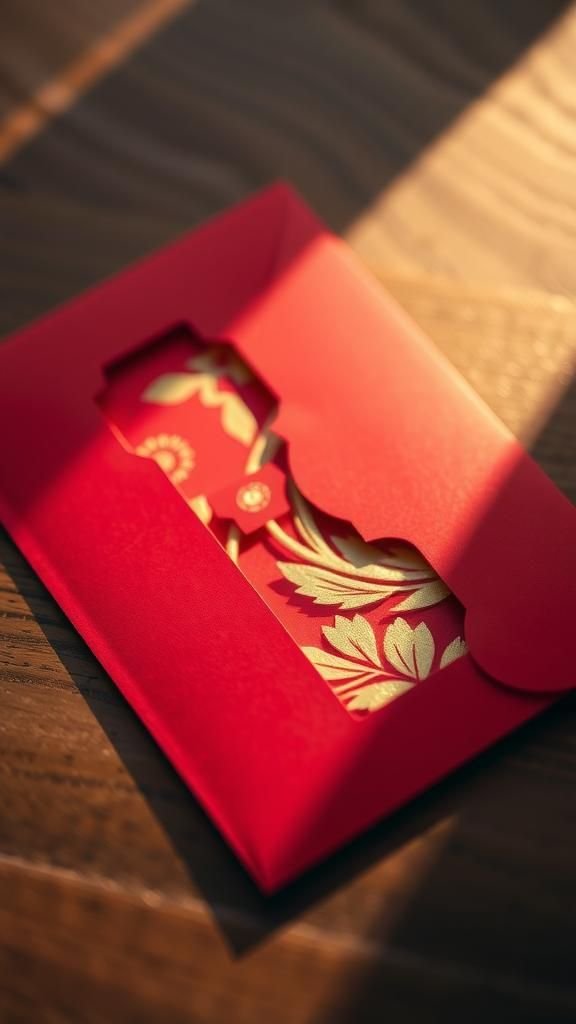
I love how a tiny cut-out can make an envelope feel like a small stage for light. The floral silhouettes peek through a negative space, and when the envelope is lifted the pattern throws delicate shadows across the palm.
The edges are crisp and the paper seems thinner where the design breathes. There’s a faint papery scent that always reminds me of old craft markets.
Watching sunlight filter through the window feels like watching a tiny bell jar of petals, softening the bright red into a gentle, almost romantic glow.
Steps
- Choose a red sheet and mark the area for the window on the front panel.
- Transfer a floral silhouette pattern onto the marked area and carefully cut out the shapes with a craft knife.
- Back the cut-out with a slightly darker red or gold paper to enhance contrast.
- Fold the paper into an envelope shape, aligning the window to the front panel.
- Seal the edges with thin adhesive for a neat finish.
Lantern-inspired red envelope with fringe and glow
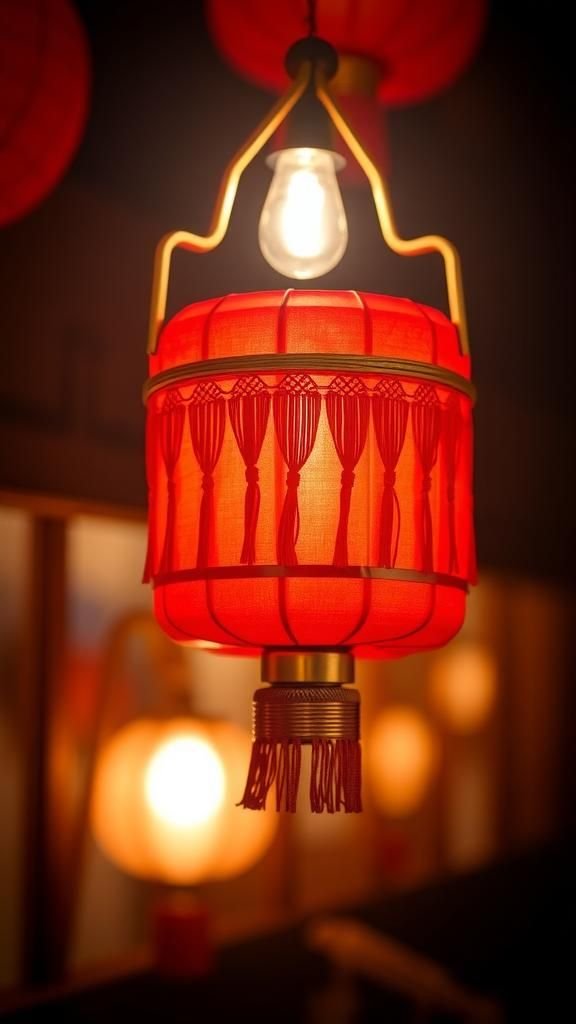
This style always brings a tiny festival to the hands. The envelope has a rounded, lantern-like silhouette with soft fringe along its bottom edge that whispers when moved.
The fringe taps lightly against the palm and catches little bits of dust like a miniature party decoration. The paper holds a faint sheen, and when a lamp hits its surface the red seems to pulse warmer along the folds.
I enjoy the way the fringe rustles while a gentle gold band above it feels like a crown that frames the whole piece.
Steps
- Cut a rectangular piece of red cardstock and draw curved lines to form a lantern silhouette.
- Create a series of thin vertical cuts along the lower edge to form fringe while leaving the top intact.
- Fold and curve the cardstock to give a rounded lantern shape and secure the sides with glue or adhesive.
- Add a thin gold band near the top edge and a small loop for decorative flair.
- Gently fan the fringe to create movement and soft shadows.
Zodiac pop-up surprise inside a slim red pocket
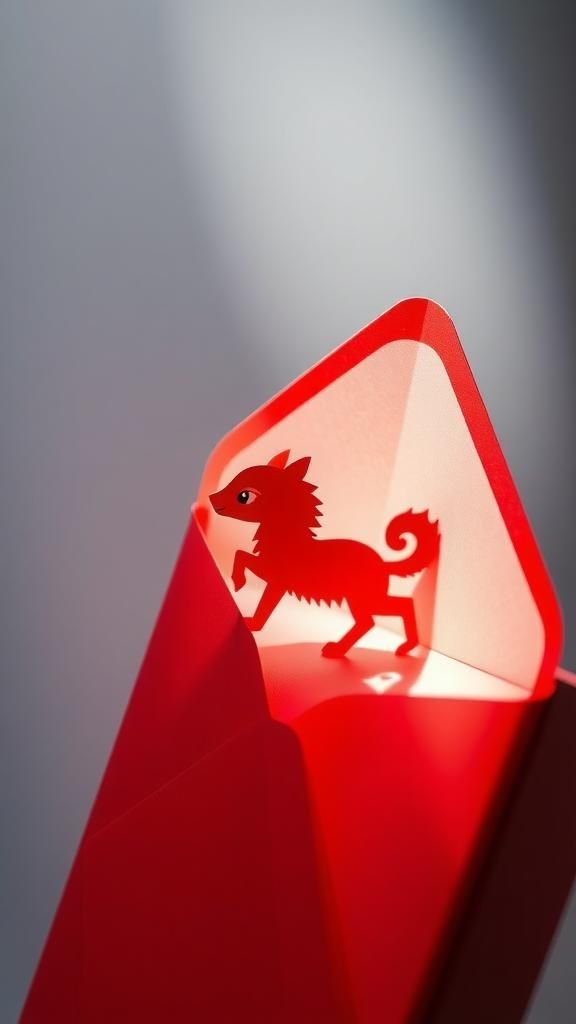
There is an enjoyable little thrill when a flat envelope hides a tiny pop-up creature. The slim red pocket looks restrained on the outside, but opening it reveals a playful zodiac animal that springs into a miniature three-dimensional pose.
The pop-up paper has crisp folds and a faint rustle, and the animal’s tiny features are often hand-drawn with care. I remember smiling at how the expression on the paper creature seemed nearly alive under soft lamplight.
The whole effect feels like a wink, gentle and slightly cheeky.
Steps
- Prepare a slim red pocket by folding a rectangular sheet into a narrow envelope with an open top.
- Create a small pop-up mechanism by folding a separate piece of paper into a base with two mountain folds.
- Attach a pre-drawn zodiac animal to the pop-up tabs so it stands when the pocket opens.
- Test the fold to ensure the animal lays flat when closed and pops up when opened.
- Tuck the pop-up into the pocket and close the opening with a decorative seal.
Embroidered fabric envelope with silk thread motifs
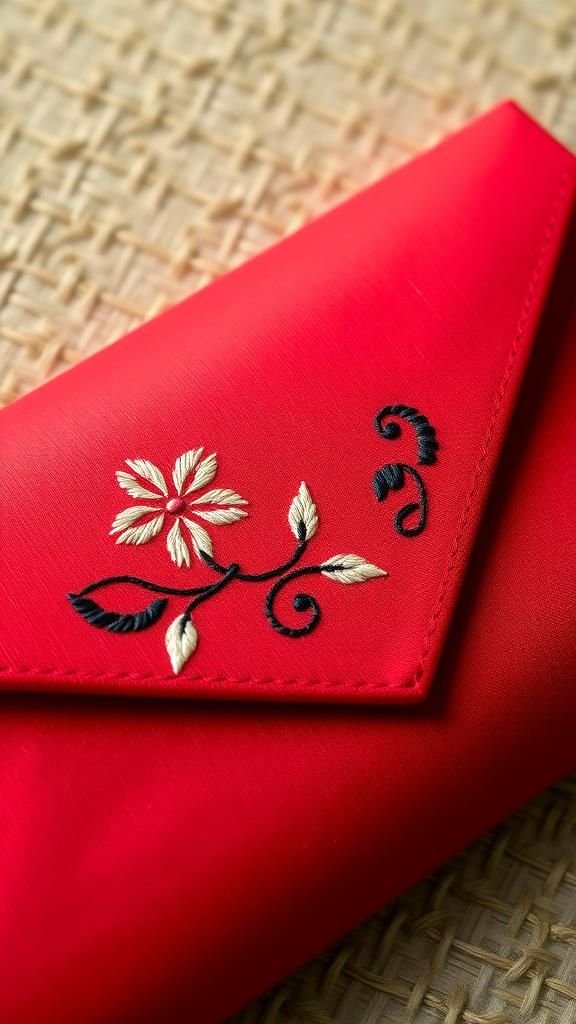
Working with fabric brings an entirely different rhythm. The envelope feels warm and soft, the stitch lines creating tiny ridges that invite a thumb to follow them.
Silk thread gleams faintly against matte red cloth, and each motif has a slight tactile lift. I often notice the subtle contrast between the cloth’s weave and the smoothness of the embroidery as if the two are having a quiet conversation.
The scent of cloth and thread brings memories of old sewing boxes, and the finished piece folds into a plush pocket that feels like a small heirloom.
Steps
- Cut two rectangles of red fabric, slightly larger than the desired envelope size, and prepare matching thread.
- Create a simple motif on the front piece by embroidering with silk thread using a basic satin or running stitch.
- Place both fabric pieces wrong sides together and sew around the edges, leaving a small opening.
- Turn the envelope right side out and press gently to set the seams.
- Close the opening with hidden stitches and add a small snap or ribbon for closure.
Wax seal and gold foil on thick handmade cardstock

There is a satisfying weight to an envelope sealed with wax and a streak of gold foil. The handmade cardstock carries tiny flecks and an uneven edge that feels crafted by hand.
The wax seal is slightly glossy, its impression sharp enough to read with a fingertip. Gold foil splashes near the seal catch light and scatter into tiny sparkles across the paper.
I enjoy the sound the wax makes when it cools and the way the foil feels like a last evening of celebration. Holding one brings a small, private ceremony to mind.
Steps
- Select a thick handmade cardstock and cut to envelope dimensions with clean edges.
- Apply a thin strip of adhesive where gold foil will be placed and press foil onto the adhesive.
- Melt sealing wax and drip a small pool onto the flap, then press a seal stamp into the wax.
- Allow the wax to cool completely before lifting the seal.
- Fold the envelope and position the wax seal to close the flap securely.
Pressed blossoms tucked into translucent red paper

There is a quiet, botanical poetry in combining pressed blossoms with translucent red paper. The petals flatten into delicate silhouettes that read like fragile memories pressed between pages.
When the light passes through the paper the blossoms glow, casting faint veins and shadows across the surface. The scent is nearly absent, but the texture speaks of afternoons spent arranging blooms on a sunny windowsill.
I find the finished envelope feels like a tiny herbarium, soft at the edges and strangely intimate, as if holding a brief, fragrant secret.
Steps
- Press small blossoms in a book until fully flattened and dry.
- Arrange the pressed petals on a sheet of translucent red vellum and secure them with tiny dabs of archival adhesive.
- Place a backing sheet of slightly darker red paper behind the vellum to enhance contrast.
- Fold the layered papers into an envelope, keeping the floral arrangement centered.
- Seal the flap gently so the petals remain undisturbed.
Minimal geometric envelope with matte red and gold
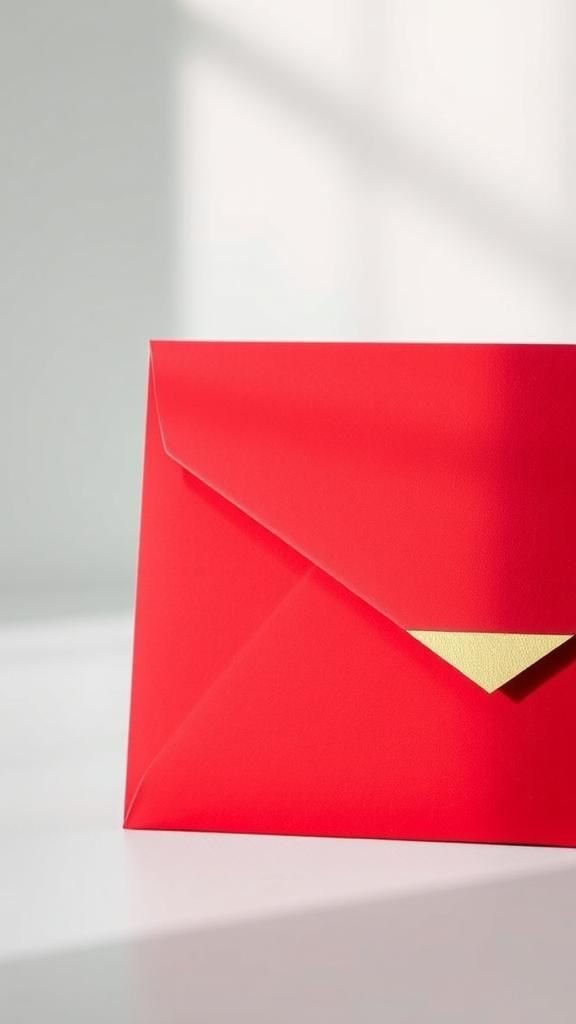
I tend to come back to clean lines after busy craft days, and this envelope is a quiet breath. The matte red surface feels smooth and understated while a thin gold geometric line gives a little edge.
Light plays differently across the matte and metallic surfaces, making the gold appear almost like a drawn light. The edges are crisp and the whole piece sits flat and elegant, as if it belongs on a neat shelf.
It has a calm presence that feels modern without being cold, like a small, tasteful statement.
Steps
- Cut a rectangle of matte red cardstock and mark the center line for design placement.
- Apply a thin strip of adhesive in a geometric pattern and press gold foil onto the adhesive.
- Trim any excess foil with a craft knife for clean edges.
- Fold the cardstock into a simple envelope shape, aligning the geometric line with the flap.
- Press the edges to ensure a flat, neat finish.
Hand-stamped lucky character on rough-textured envelope
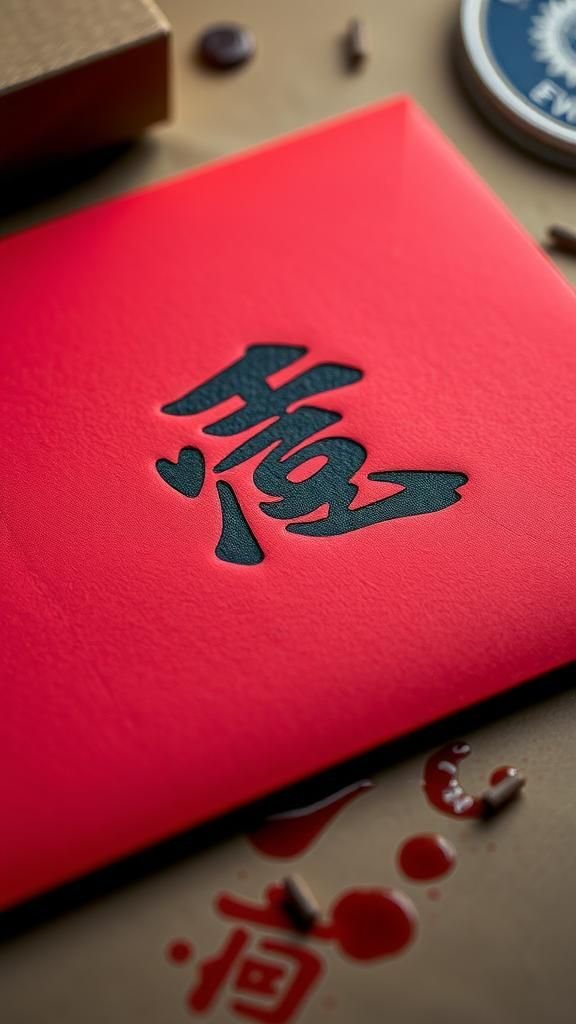
The rhythm of an inked stamp pressing into rough-textured paper carries a small, satisfying thump. The stamped character does not land perfectly every time, which makes each envelope feel like its own little variation on a theme.
Ink pools slightly in the paper’s valleys, creating darker patches that I find charming rather than flawed. The surface smells faintly of ink and paper glue, a nostalgic, comfortable scent.
When gathered together the envelopes form a chorus of marks, each impression leaning its own way like a crowd of smiling faces.
Steps
- Choose a rough-textured red paper and prepare a clean lucky-character rubber stamp with ink.
- Practice stamping on scrap paper to check pressure and alignment.
- Center the stamp on the envelope front and press down firmly for a clear impression.
- Allow the ink to dry fully before stacking to avoid smudges.
- Optionally accent the stamped character with a thin gold outline or shadow.
Layered paisley and cloud pattern with embossed sheen

There is a tactile pleasure in embossed patterns that rise slightly from the paper like tiny ridges to explore. The paisley and cloud motifs feel playful and classic at the same time, their curves catching light differently as the envelope turns.
The sheen on the embossing is subtle, almost as if a faint mist was brushed across the surface. I often find myself running a fingertip along those raised lines, enjoying the very small resistance.
The layered patterns create depth without heaviness, like a quiet skyline of shapes on red.
Steps
- Choose a red cardstock and select a paisley and cloud embossing folder that fits the envelope size.
- Run the cardstock through an embossing machine to create raised patterns.
- Lightly apply a metallic rub or wax over the raised areas to highlight the sheen.
- Trim and fold the embossed sheet into an envelope shape with neat creases.
- Press along the edges to preserve the embossed texture and final shape.
Tiny lantern charm closure on a pocket envelope
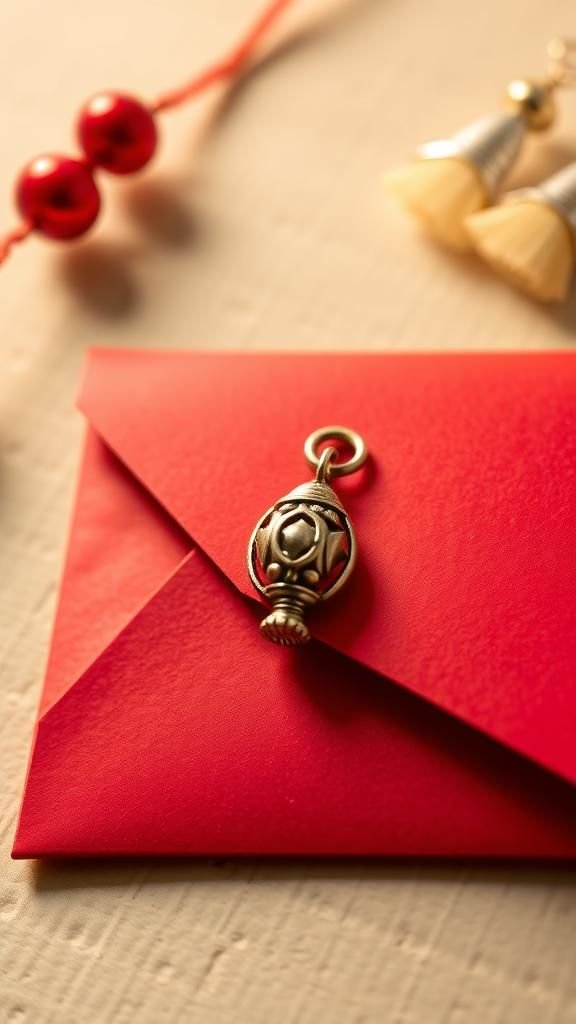
A small charm can turn an ordinary pocket into something delightfully tactile. The lantern charm dangles and clicks softly against the paper, offering a gentle audible note when the envelope moves.
The metal has a faint coolness and the red pocket has soft, rounded corners that invite fingers. I like how the charm creates a focal point, catching tiny reflections as it shifts.
The overall effect is almost playful, as if the envelope is wearing a little ornament to the celebration. It feels personable and slightly whimsical in a way that makes me smile.
Steps
- Fold a rectangular piece of red paper into a pocket envelope, leaving the top open.
- Punch a small hole near the flap and attach a tiny lantern charm with a jump ring.
- Secure a small cord or ribbon through the charm and tie it so the charm rests on the flap.
- Reinforce the hole with a metal eyelet to prevent tearing.
- Place a note or small gift inside and close the flap so the charm is visible.
Gold leaf splatter over a weathered red surface
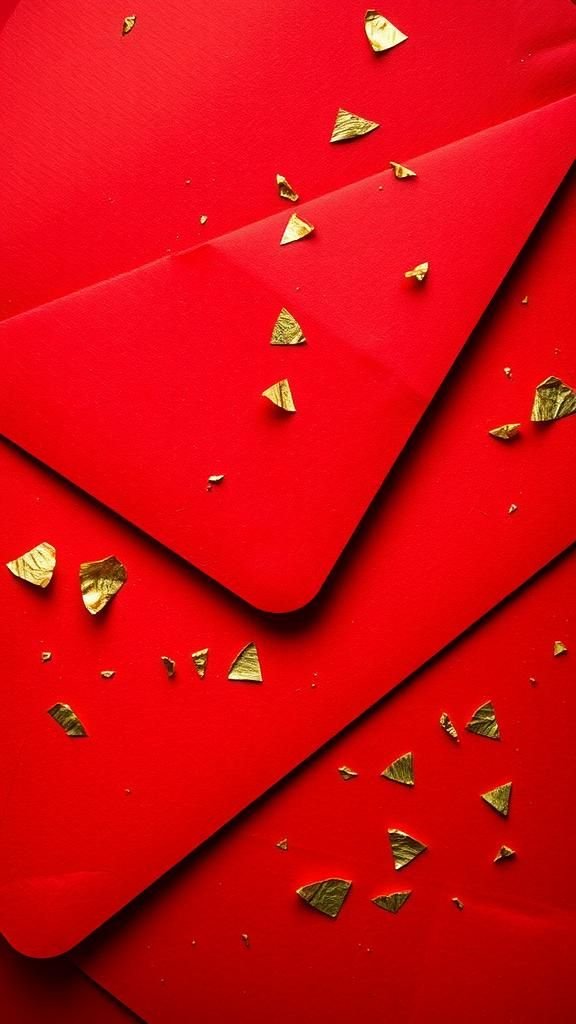
There is something almost cinematic about gold leaf scattered over a weathered red surface, like stars on an old wall. The gold pieces vary in size, catching light in a way that moves with the eye.
The red paper beneath has tiny creases and an aged patina that seem to raise the gold up into glowing islands. I like how each splatter pattern feels accidental and personal, a small record of the hand that made it.
Holding it up to light creates a constellation of warm flashes that feels quietly luxurious.
Steps
- Prepare a slightly textured red paper and mask off areas that should remain clear.
- Apply adhesive lightly in a random splatter pattern across the surface.
- Press delicate gold leaf sheets onto the adhesive and brush away excess gently.
- Seal the surface with a thin fixative to secure loose flakes.
- Fold into an envelope once the adhesive and sealant are fully dry.
Bamboo paper envelope with hand-dyed ombré wash
Working with bamboo paper introduces a subtle grain and airy feel that I really enjoy. The hand-dyed ombré wash moves from deep garnet to a softer coral, creating a gentle horizon across the paper.
The dye settles into the fibers in unpredictable ways, leaving faint veining that feels organic. When the envelope is folded the gradient meets itself and creates playful overlaps of tone.
The surface retains a faint damp-earth scent from the dyeing process, which fades into a quiet memory. The finished envelope feels like a small landscape folded to hold a message.
Steps
- Soak a sheet of bamboo paper flat and prepare dye baths of two or three shades.
- Dip the paper gradually to create an ombré wash, allowing the colors to blend naturally.
- Rinse lightly and press the paper between absorbent cloths to dry.
- Once dry, trim and fold the dyed sheet into an envelope shape with neat creases.
- Optionally add a thin gold edge to accent the gradient.
Silk ribbon band with stamped coin medallion

A silk ribbon wrapping an envelope feels like giving a small present. The ribbon’s sheen contrasts with matte paper and slips coolly under a thumb.
The stamped coin medallion sits on top with a faint metallic clink when handled, and its tiny stamped lines invite inspection. I enjoy the tactile layering—the ribbon’s softness, the medallion’s slight weight, the paper’s quiet resistance.
The combination reads as thoughtful without being showy, like a modest celebration that still takes the time to be careful. It often ends up as my go-to when I want an elegant, understated touch.
Steps
- Cut a length of silk ribbon wide enough to wrap around the envelope horizontally.
- Stamp a small coin medallion design on thin metallic paper and cut it out.
- Wrap the ribbon around the closed envelope and secure it with a small dot of adhesive.
- Affix the medallion to the center of the ribbon for a neat focal point.
- Trim ribbon ends and press gently to set the arrangement.
Calligraphy silhouette cut-out revealing inner gold lining
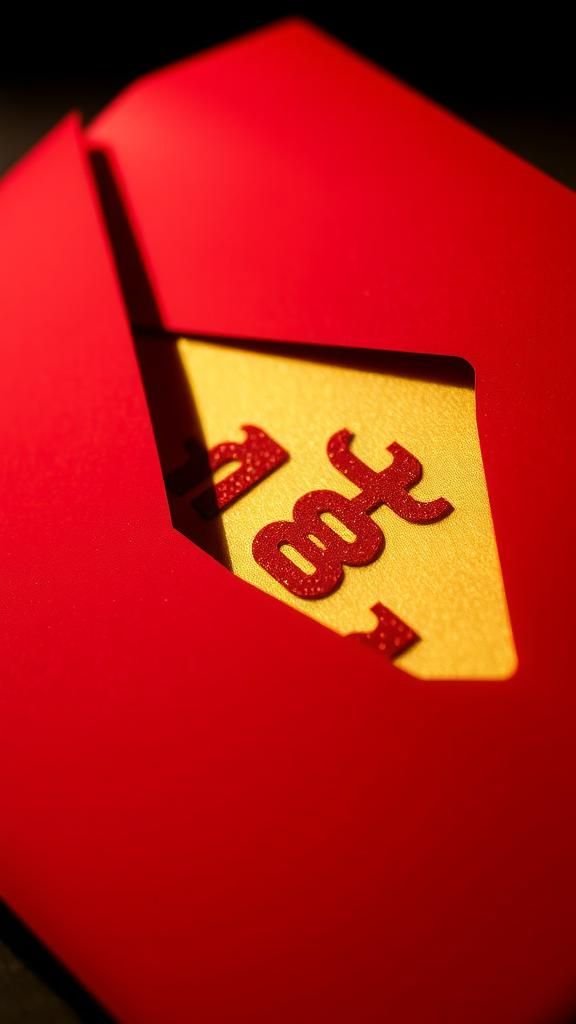
The contrast between a dark red exterior and a bright gold interior is quietly dramatic. The calligraphy silhouette cut into the front panel offers a glimpse of gilded paper beneath, like a secret door.
Light skims the gold lining and reflects through the cut edges, creating thin bright rims around each curve. The exterior paper has a gentle grain that frames the cut silhouette, and the interior glows faintly when tilted.
I often pause to watch how the cut edges shadow the gold, a small shifting drama that feels intimate and slightly theatrical.
Steps
- Trace a calligraphy-style character onto the front panel of a red sheet and carefully cut out the silhouette.
- Prepare a gold lining sheet and adhere it to the inside back of the cut panel.
- Fold the layered paper into an envelope, ensuring the gold lining sits flush behind the cut-out.
- Smooth the edges and crease the folds cleanly.
- Add a small tab or seal if desired to keep the flap closed.
Aromatic tea sachet tucked inside a red sleeve
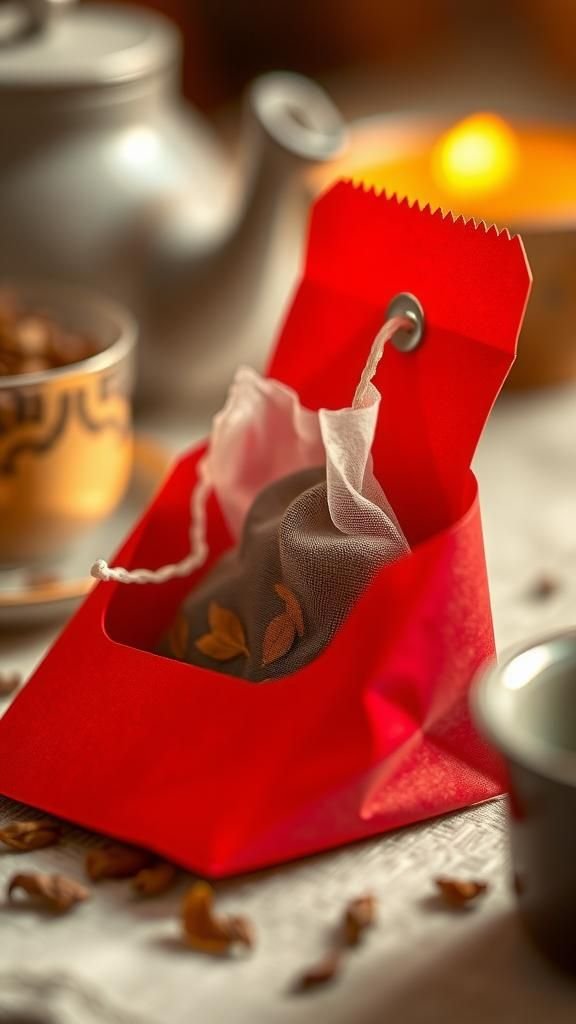
I sometimes like envelopes that carry a scent as well as a note. A small tea sachet nestled inside a red sleeve offers a little aromatic greeting when the flap is lifted, warm and leafy with faint floral notes.
The paper absorbs just a whisper of the tea’s scent, so the first moments of opening feel like stepping into a cozy kitchen. The sachet’s soft fabric rustles against the paper, and the whole package invites a slow smile rather than a quick glance.
It is an unpretentious way to add another sensory layer to a greeting.
Steps
- Fold a red sleeve slightly larger than a small tea sachet, leaving an open top.
- Place a pre-made scented tea sachet inside the sleeve so it sits flat.
- Close the top with a thin strip of tape or a small sticker to keep the sachet secure.
- Optionally add a small label with a handwritten message on the outside.
- Package in a protective envelope if sending by mail to preserve the scent.
Paper-quilled peony nestle on a petite envelope
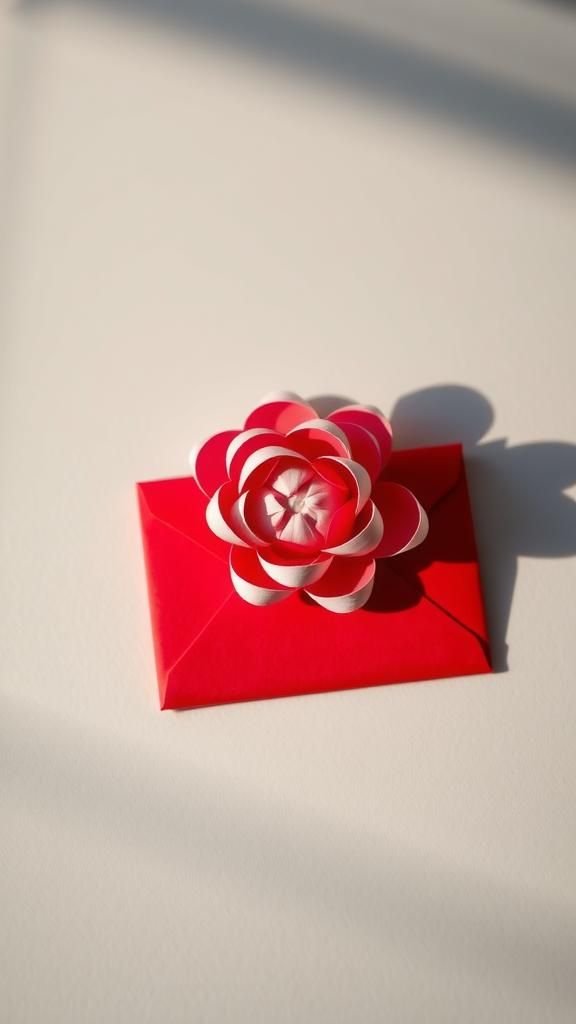
Paper quilling invites a slower attention, and a tiny peony built from curled strips feels like a miniature sculpture. The petals layer into a soft, rounded bloom that sits proudly on the envelope’s surface, catching tiny highlights along the paper edges.
The strips have a faint papery fray at their edges and a subtle sheen that mimics real petals when the light hits them. Holding the envelope makes the bloom bob slightly, and the shadow it casts becomes part of the composition.
It feels handcrafted in the old-fashioned, lovingly patient way.
Steps
- Prepare thin strips of colored paper and roll them into tight coils for petals, shaping each coil into petal forms.
- Assemble the coils into layers to form a small peony, gluing each piece as it is added.
- Attach the finished quilled peony to the front of a petite red envelope with a small amount of adhesive.
- Allow the glue to dry fully before handling to keep the shape intact.
- Store flat to preserve the quilled structure during transit.
Dragon tail flap that curves like a ribbon
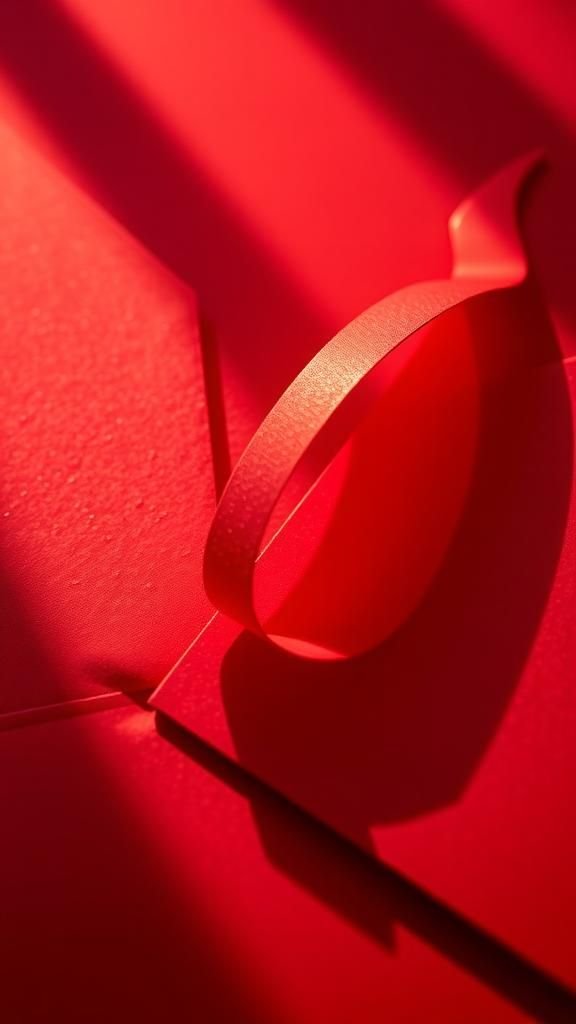
A flap shaped like a dragon tail turns a simple envelope into a playful figure. The curved edge flows like a ribbon, suggesting movement even when still.
The paper’s edge catches a sliver of light that makes the curve feel animated, and the tail often carries a contrasting gold tip that sparkles faintly when tilted. I always smile at the small personality this gives an envelope, as if it were a tiny creature with a polite flourish.
The overall presence feels dynamic without being noisy, just a little theatrical in a charming way.
Steps
- Design an envelope flap with a dragon tail curve and cut the paper accordingly.
- Add a contrasting gold tip by applying foil or metallic paint to the tail end.
- Fold the rest of the envelope to align the curved flap neatly when closed.
- Press the fold to ensure the tail curves smoothly and maintains shape.
- Optionally add a small embossed eye or scale detail near the tail base for character.
Lace-trimmed red envelope with mixed-metal accents
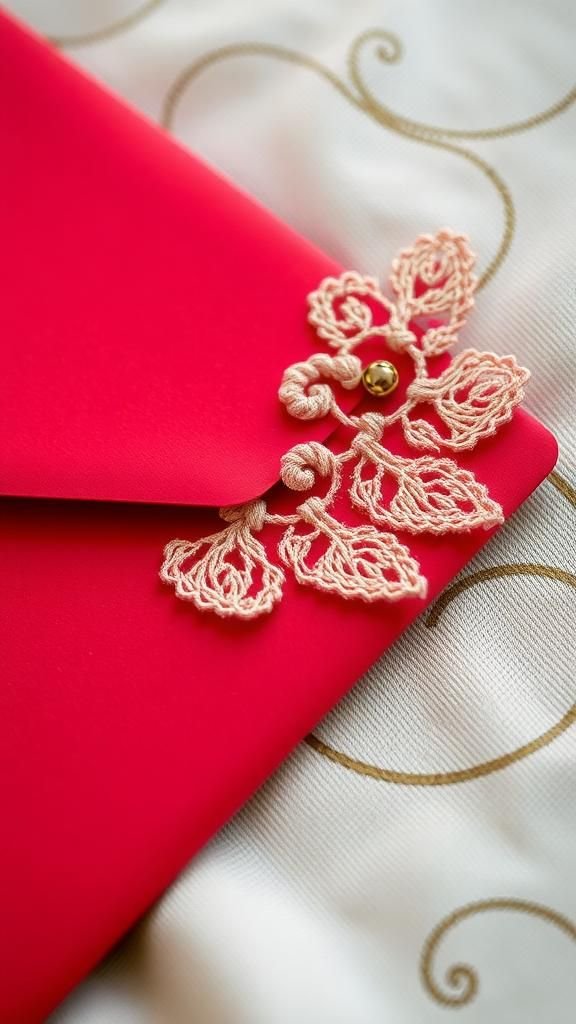
Combining delicate lace with metals creates an unexpected mix of softness and gleam. The lace edge whispers along the envelope, providing a hint of old-world charm, while tiny mixed-metal studs add a contemporary wink.
When the envelope moves the lace breathes and the metallic accents flicker briefly in the light. The lace fibers have a faint, cottony feel, and the metals bring a cool counterpoint that keeps the design grounded.
I often pair this style with a small handwritten note because the contrast invites a slower, more attentive reading.
Steps
- Trim a length of lace to fit the envelope flap and adhere it along the edge with fabric glue.
- Select small mixed-metal studs and arrange them along one side or corner as accents.
- Press each stud gently into place and allow adhesives to set fully.
- Fold the envelope with the lace trim aligned neatly along the flap edge.
- Double-check that the lace does not obstruct the closing of the envelope and trim any excess if needed.
Recycled map collage for worldly red envelopes
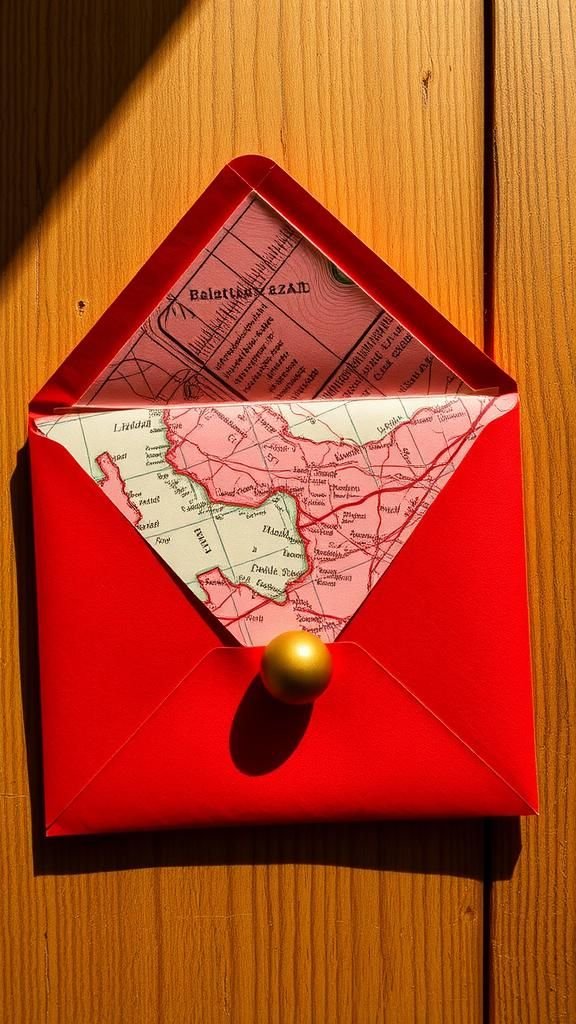
I find recycled materials carry stories, and a map collage brings a hint of travel into a red envelope. Tiny snippets of coastline and place names peek through layered reds and golds, suggesting journeys without claiming them.
The texture is slightly uneven where papers overlap, and the edges show faint lines of past folds that read like memory. When handled the glued layers make a muted papery rustle, and the overall feel is slightly raw and adventurous.
These envelopes often spark questions about where the maps came from, making them good conversation starters.
Steps
- Collect small scraps of old maps and trim them into shapes for collage.
- Arrange the map pieces on a red base paper to create a layered composition and glue them down.
- Add thin strips of gold paper between map layers for contrast and cohesion.
- Once dry, fold the collage into an envelope form and press the edges firmly.
- Optionally add a small stamped character or label to personalize the front.