Cute Graduation Cap Nail Designs are a fun way to celebrate milestones with your nails. Cute Graduation Cap Nail Designs bring graduation energy to short, medium, or long nails and work with almond, coffin, square, and oval shapes.
These designs pair well with neutral nudes, bold school colors, glitter accents, and glossy or matte finishes.
Trend-ready for spring and summer ceremonies, Cute Graduation Cap Nail Designs flatter fingers at photos and parties. From tiny cap accents to full-art scenes, these looks suit press-ons, gel, acrylic, or polish and match both understated and statement wardrobes.
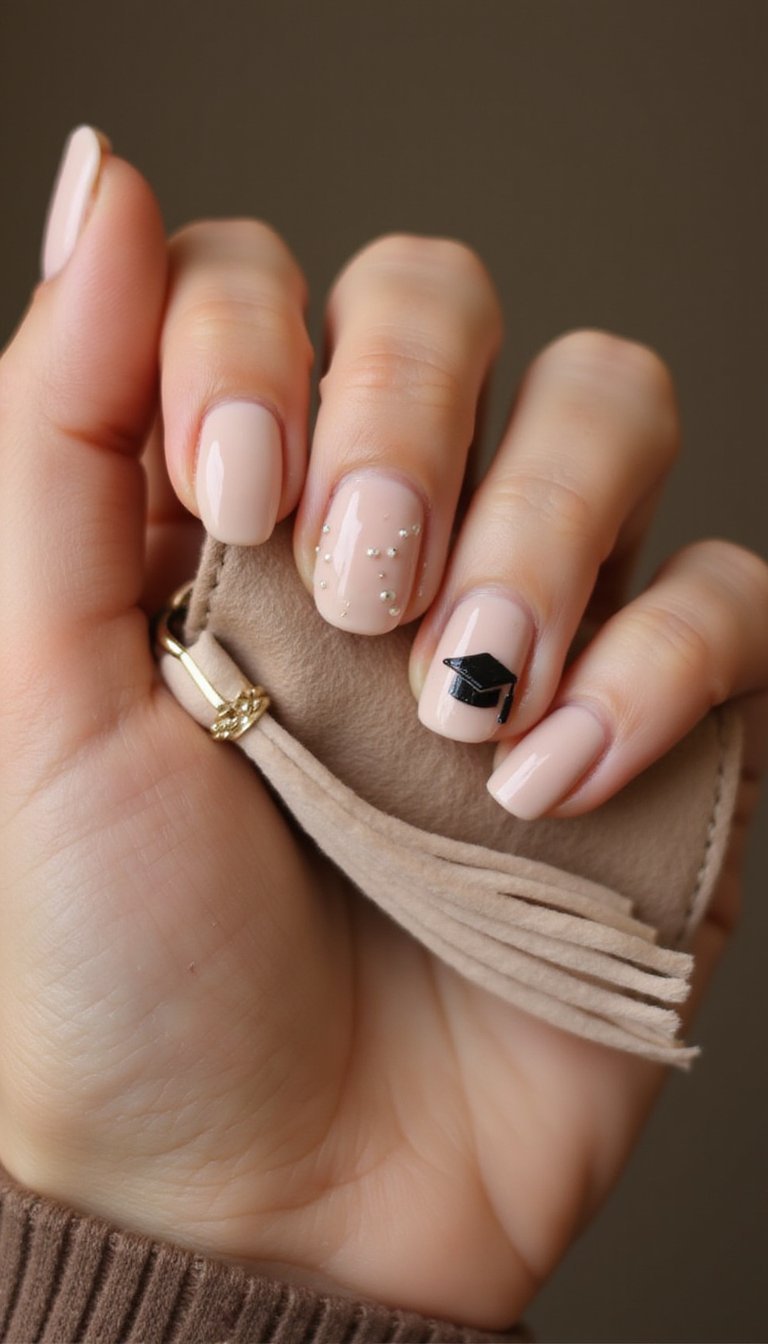
Tiny Graduation Caps On Soft Pink Base
Start with a soft, blush-pink base that keeps the vibe sweet and wearable. Add tiny black mortarboard silhouettes on one or two accent nails for a minimalist but festive look. A glossy finish brightens the blush, while short to medium almond shapes keep the design delicate and easy to photograph. The palette is soft pink, black, and a hint of gold for tassels—super flattering on fair to medium skin tones and perfect for last-minute grads who want cute but low-key nails.
Nail Tips
- File to a soft almond shape, buff lightly, and apply a thin base coat to protect the nail.
- Use gel polish for crisp cap silhouettes; cure each layer 30–60 seconds under LED or let regular polish dry fully before detailing.
- Seal with a glossy top coat, wipe edges, and massage cuticle oil into the skin nightly to keep nails looking fresh.
Glittery Tassel Accent With Clear Tips
Clear tips with a translucent base let glitter tassel accents shine without overpowering the hand. Apply long coffin or almond acrylics with a glossy finish and add a tiny mortarboard near the cuticle, then trail glitter for the tassel down the nail. Use silver or rose-gold glitter to coordinate with jewelry. This look reads playful and party-ready, ideal for long nails and grads who want to capture celebratory photos that sparkle under lights.
Nail Tips
- Prep by shaping to long almond or coffin, buff lightly, and apply a dehydrator then base coat for adhesion.
- Build with acrylic or hard gel for durable clear tips; press glitter into uncured resin or use gel glitter and cure 30–60 seconds.
- Top with a thick glossy top coat to seal glitter and use cuticle oil to keep skin hydrated around the nail.
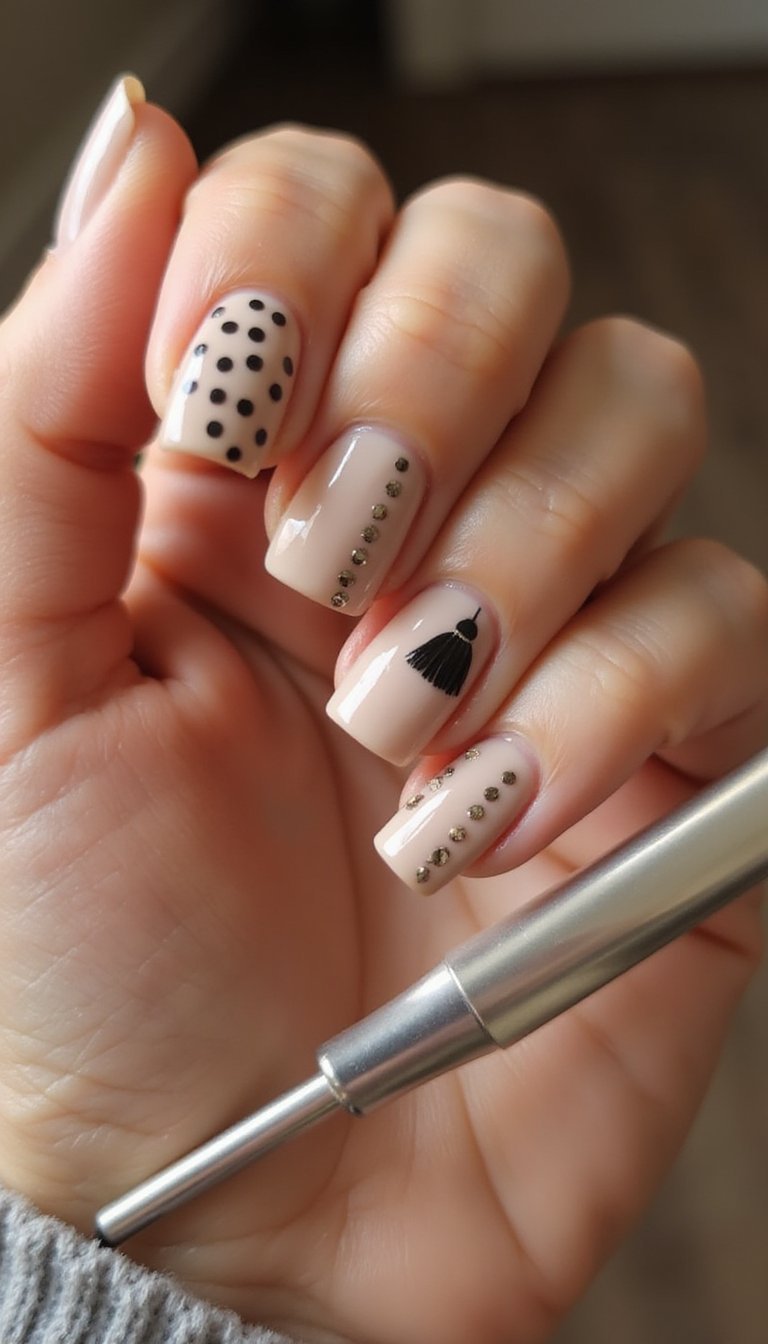
Minimal Line Art Caps On Natural Nude Nails
For a pared-back celebration, paint thin black line-art mortarboards on a neutral nude canvas. Short or medium oval nails look polished and wearable, letting the tiny cap sketches be the focal point. A matte or soft-satin top coat gives a modern editorial finish, while the color palette stays neutral—nude base with black line detail and a micro dot of metallic for the tassel. This design feels chic and refined, great for grads who prefer subtle accents over loud patterns.
Nail Tips
- File to a gentle oval, buff lightly, push back cuticles, and apply a thin base coat to smooth the surface.
- Use regular polish or gel for the nude base; cure gel layers 30–60 seconds and sketch caps with a fine detail brush and black gel.
- Seal with a matte or satin top coat, hydrate cuticles nightly, and touch up edges if chips appear.
Pastel Ombre With Tiny Cap Silhouettes
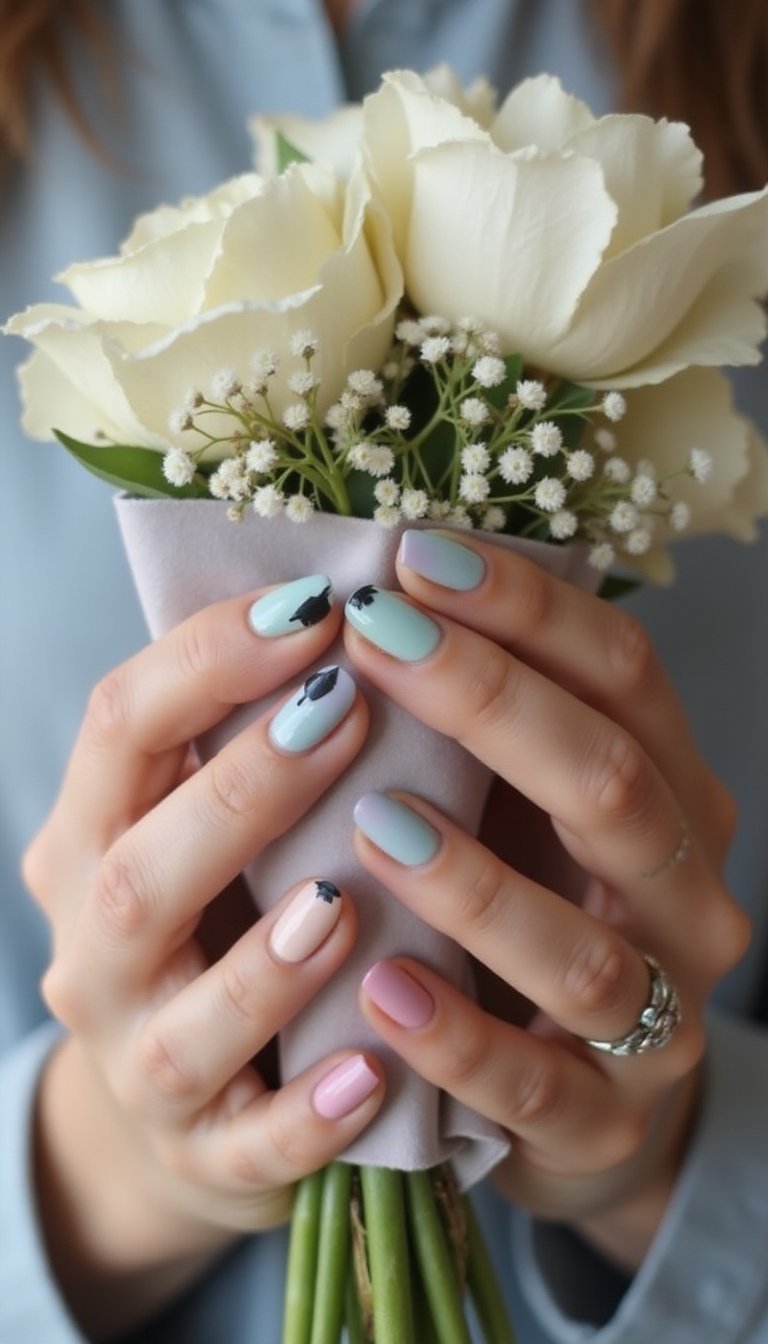
Blend baby blue, lilac, and mint into a dreamy pastel ombré that reads soft and celebratory. Place small black or white mortarboard silhouettes across accent nails for contrast. Long almond slopes suit the gradient, allowing the colors to flow naturally. Finish with a glossy top coat to enhance the ombré glow. This palette is perfect for spring graduations, offering a fresh, youthful vibe that pairs beautifully with floral dresses and light suits.
Nail Tips
- Shape long almond nails and buff lightly; prep with base coat to create a smooth ombré canvas.
- Use gel polish for smooth blending; apply thin layers and cure 30–60 seconds between coats for clean gradients.
- Top with a glossy top coat to blend colors seamlessly and use cuticle oil to keep skin soft around long nails.
Holographic Caps On Clear Jelly Nails
Clear jelly nails with holographic mortarboards create a playful, futuristic graduation look. Use long coffin or almond shapes to show off shifting holo flakes inside the translucent base, then add tiny cap outlines in black or white. The result catches sunlight and camera flashes beautifully, giving a festival-meets-ceremony vibe. Finish with a glossy top coat to maximize shine and dimension. This design suits bold grads who love whimsical nail art with high-impact sparkle.
Nail Tips
- Shape to long coffin or almond and prep with a dehydrator and base coat for better adhesion of jelly layers.
- Build translucent jelly with soak-off gel or builder gel, embed holographic flakes, and cure layers 30–60 seconds as needed.
- Top with a thick glossy top coat to seal flakes and use cuticle oil to keep surrounding skin moisturized after application.
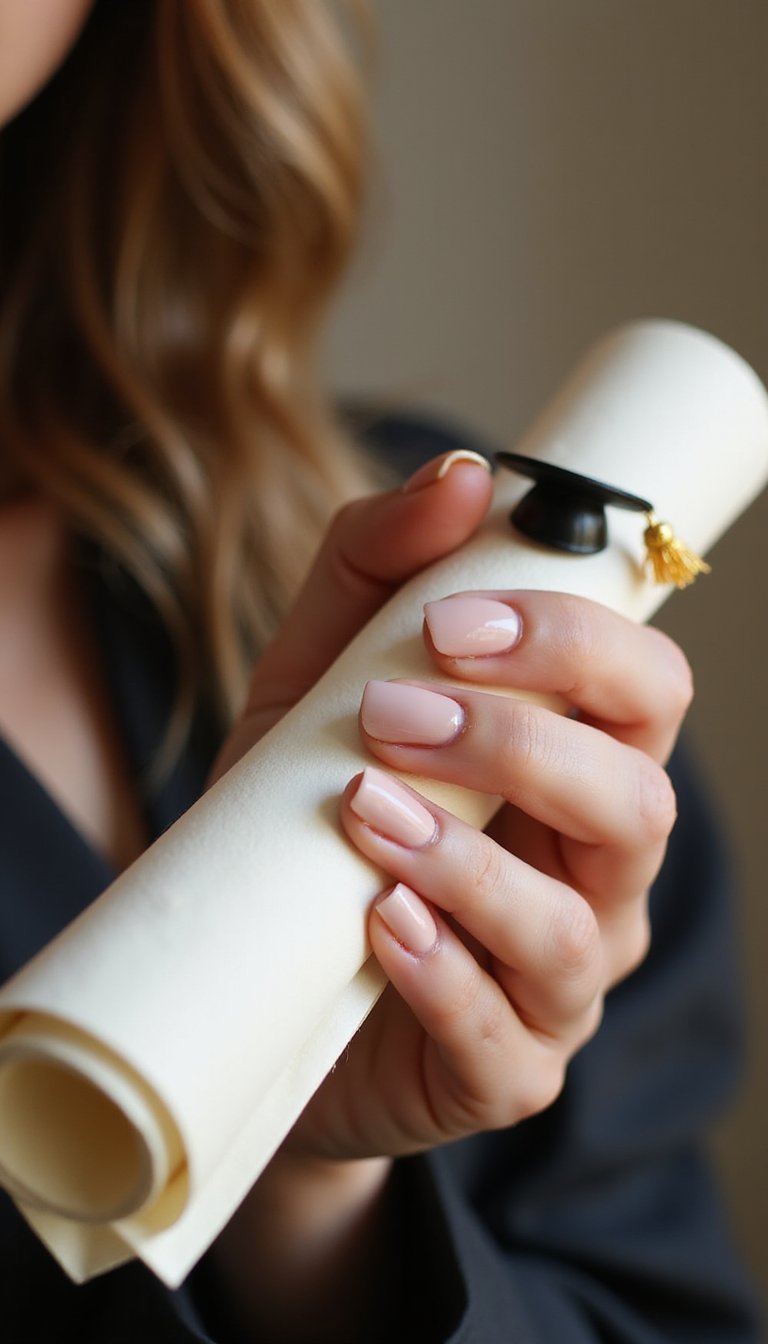
Tiny Diploma Rolls With Caps Accent Nails
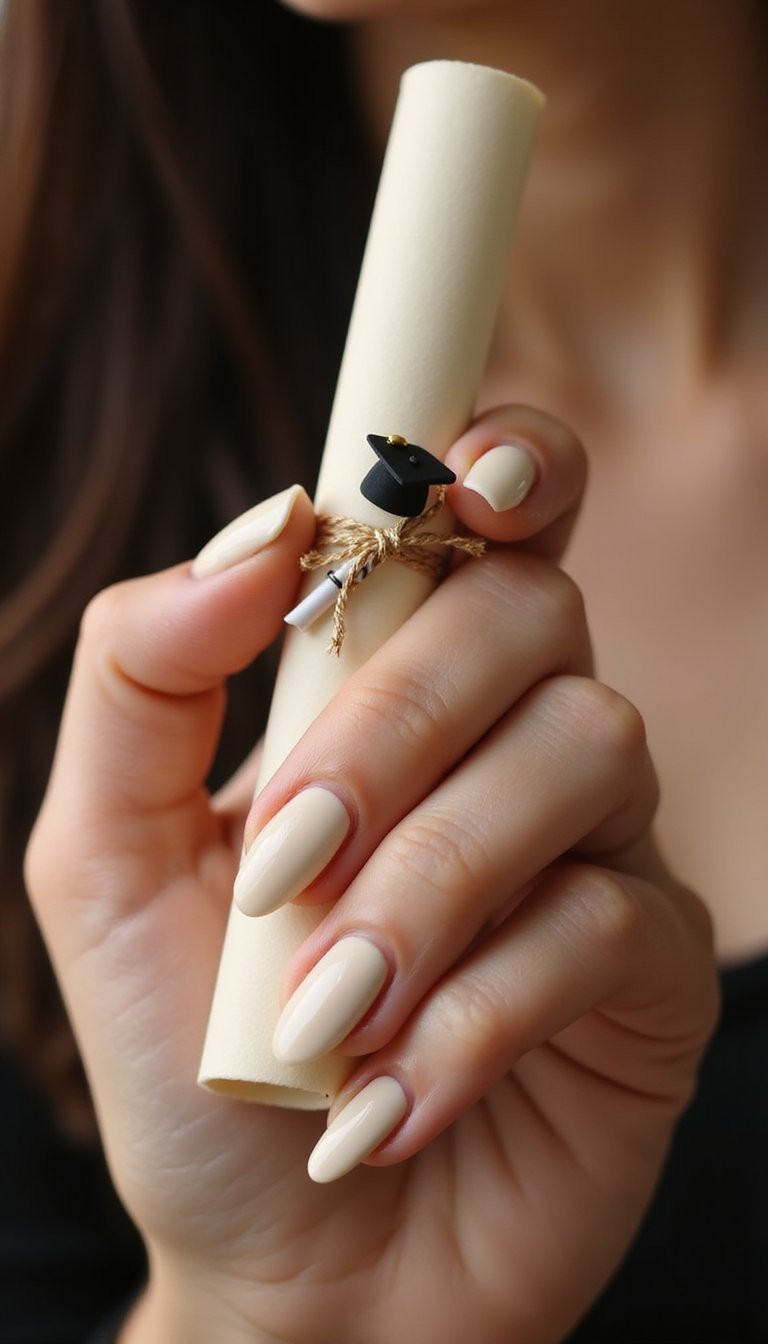
Mix mortarboards with miniature diploma roll art for a themed manicure. A creamy ivory or soft beige base acts as a neutral canvas, while accent nails feature tiny black caps and rolled diplomas tied with metallic thread. Short or medium oval nails keep the icons readable and chic. The overall finish is slightly glossy, giving a classic, timeless feel that pairs well with both casual and formal graduation outfits.
Nail Tips
- File to a neat oval, buff gently, and apply a protective base coat to smooth the nail plate.
- Use regular or gel polish for the neutral base; paint diploma rolls with a fine brush using gel for crisp lines and cure 30–60 seconds.
- Finish with a glossy top coat to protect the tiny details and apply cuticle oil nightly to maintain a neat look.
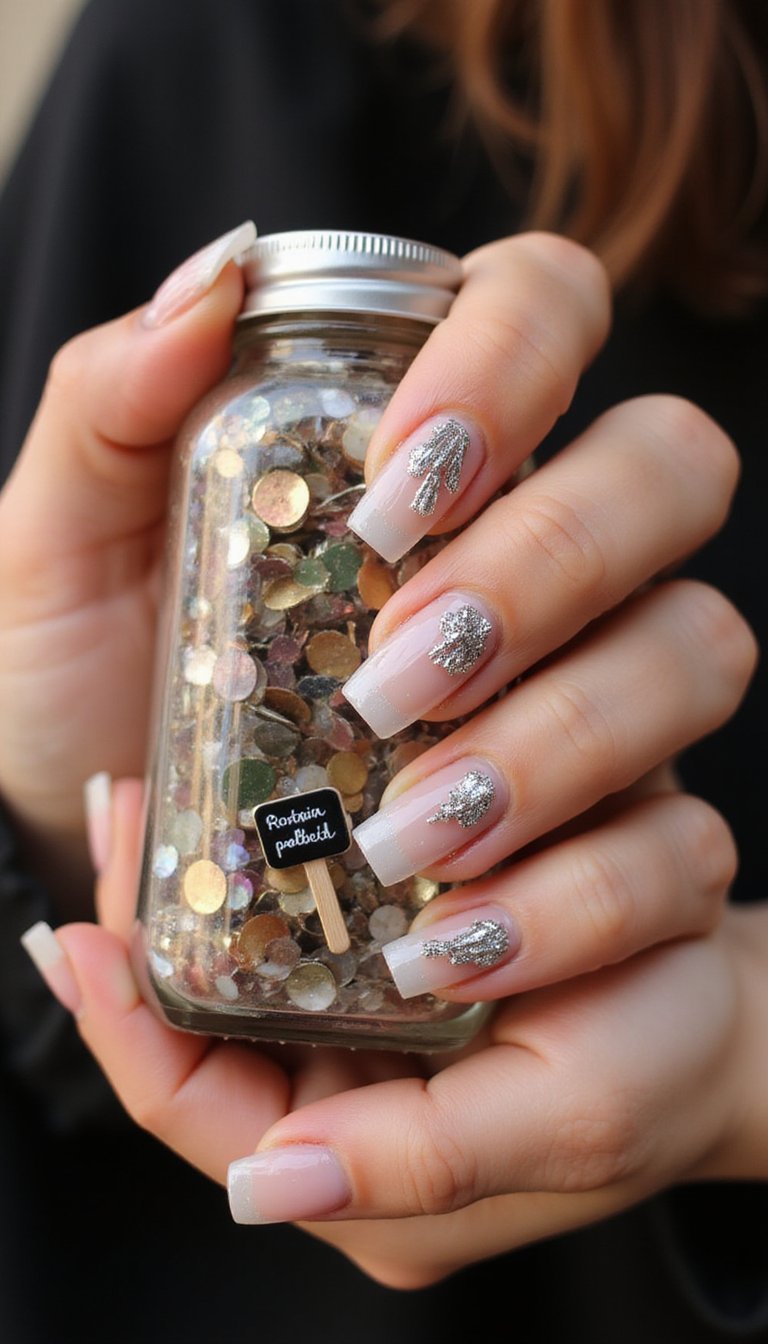
Caps And Confetti For Party-Ready Nails
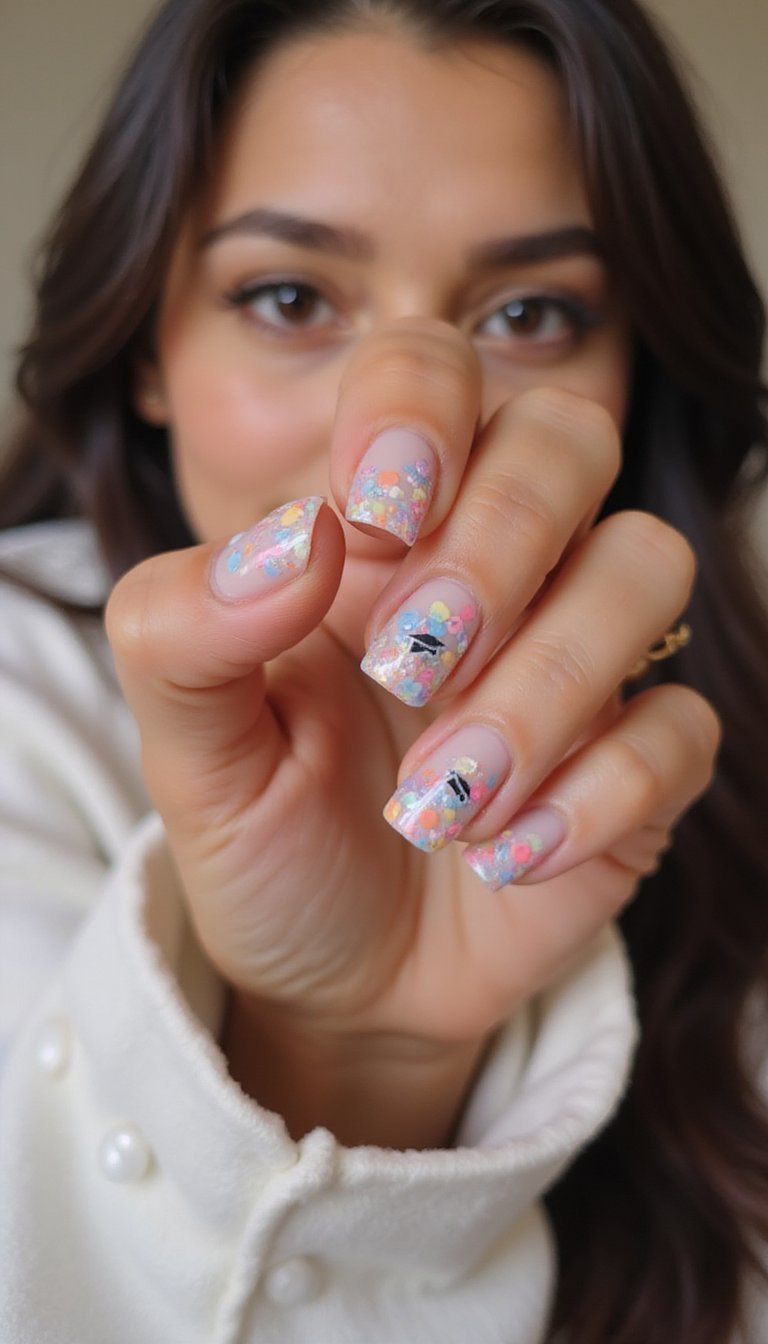
Celebrate with confetti glitter mixed into a sheer base, then overlay tiny mortarboard stickers or freehand caps on an accent nail. Medium-length square nails offer fun surface area for flakes and sparkles. Choose multi-colored glitter or coordinate with school colors for a cohesive look. The style is playful and eye-catching—great for grad parties and photo ops. A glossy finish amplifies the sparkle, while the cap motifs keep it recognizably graduation-themed without feeling childish.
Nail Tips
- Shape to medium square and buff lightly; apply a tack-free base coat for glitter application.
- Press glitter into a gel base or mix with clear builder gel and cure 30–60 seconds; apply cap stickers or gel-painted caps on accents.
- Seal with a thick glossy top coat to smooth glitter and prevent fallout, and use cuticle oil to keep the skin supple.
3D Mini Mortarboard Charms On Accent Finger
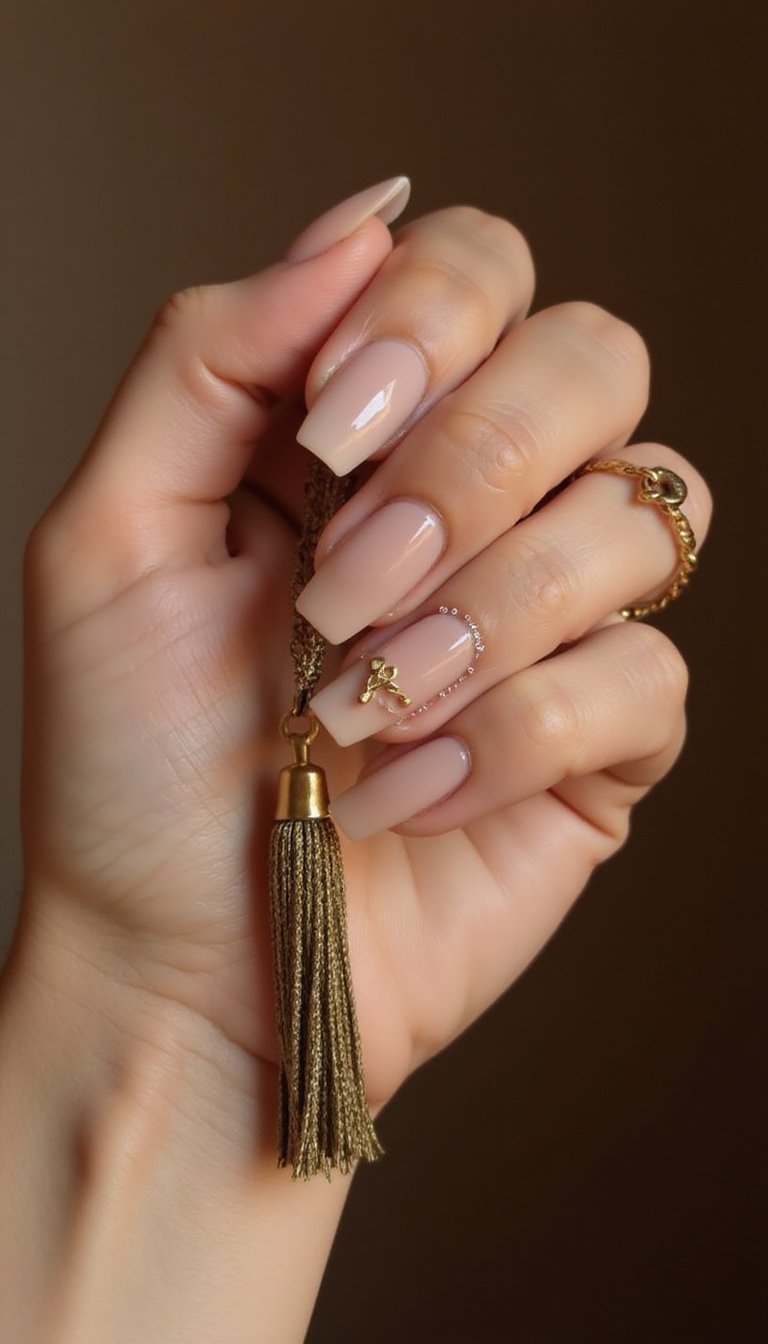
Add a tiny 3D mortarboard charm on the ring finger for an elevated mani. Keep the other nails in a soft neutral or matching school color to let the charm pop. Medium to long square or coffin nails provide space for secure charm placement. Use builder gel or acrylic to anchor the piece and finish with a glossy seal. This look feels luxe and playful, ideal for grads who want a standout accent without all-over busy patterns.
Nail Tips
- File to medium coffin or square and prepare the nail with a dehydrator and base coat for strong adhesion.
- Attach the 3D charm using builder gel or acrylic and cure firmly for 30–60 seconds under LED; reinforce with additional gel if needed.
- Top with a glossy top coat around the charm base to seal and keep cuticle oil handy to nourish skin around the embellishment.
Gold Foil Cap On Marble Accent Nail

Combine a chic marble accent with a gold foil mortarboard for a high-end manicure. Use white and gray swirling marble on one or two nails, then press gold foil into the cap shape for a luxe touch. Medium oval nails give a refined silhouette and keep the marble from feeling heavy. Pair with a soft nude or pale gray on remaining nails to balance the look. It’s elegant and photographic—great for grads who love timeless style with a bit of sparkle.
Nail Tips
- Shape to medium oval and buff lightly; apply a smooth base coat to help marble layers blend.
- Create marble with thin gel layers and a needle or brush, cure 30–60 seconds, then press gold foil into tacky gel for the cap.
- Seal with a glossy top coat to lock foil in place and apply cuticle oil to keep skin polished around the nail.
Cap And Tassel Stamping For Quick Salon Looks
Stamping plates with mortarboard designs make fast, consistent accent nails for groups or busy grads. Choose a contrasting color—black or metallic—over a nude or pastel base. Short to medium square nails hold stamped details neatly and are ideal for salon visits or DIY finishes. Add a tiny metallic dot for the tassel and a glossy top coat to keep stamped lines crisp. This method is great when time is tight but you still want detailed graduation art.
Nail Tips
- File nails to short or medium square and apply a thin base coat to create an even stamping surface.
- Use stamping polish or gel stamp plates for precise caps; cure gel stamps 30–60 seconds if using gel products.
- Finish with a glossy top coat to protect stamped designs and treat cuticles with oil to maintain a neat manicure.
Pastel French Tips With Tiny Cap Details

Give the classic French tip a graduation twist by painting pastel tips and adding a miniature cap at the smile line. Short to medium square or almond nails work well, depending on how much tip you want to show. Use pale blue, mint, or blush for tips and paint the caps in black or white for contrast. A glossy finish keeps the look fresh and wearable for graduation day photos and family gatherings.
Nail Tips
- Shape nails to short or medium almond/square and apply a base coat to smooth the nail bed for crisp tips.
- Use gel polish or regular polish for the pastel tips and cure gel layers 30–60 seconds; add cap details with a thin brush or stamping tool.
- Seal with a glossy top coat to protect the tips and massage cuticle oil into the skin daily to keep nails neat.
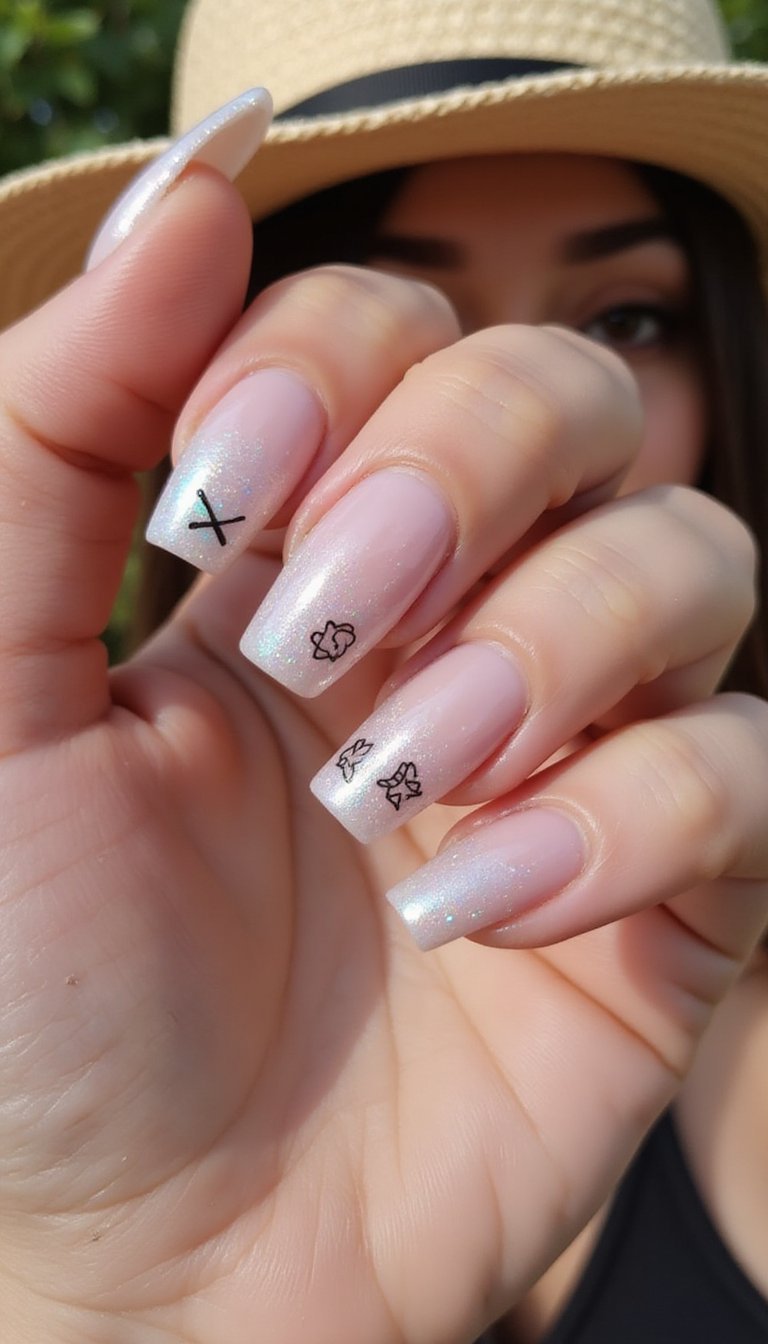
Gradient Sky Scene With Tiny Flying Caps

Paint a dreamy sky gradient across long coffin nails and add tiny flying mortarboards as silhouettes. Use peach to blue gradients for sunset vibes or icy blues for daytime skies. The long length gives room for multiple caps flying toward the tip, creating a celebratory motion effect. A glossy finish enhances the sky glow and silhouette contrast, producing a cinematic manicure perfect for outdoor graduation photos and creative grad portraits.
Nail Tips
- Shape to long coffin and apply a base coat to ensure smooth color blending for the sky gradient.
- Create the gradient with gel polishes, curing 30–60 seconds between thin layers, then paint cap silhouettes with a fine brush.
- Seal with a glossy top coat to amplify color depth and apply cuticle oil regularly to nourish skin around long nails.