Spinach Artichoke Sliders Recipe
Spinach artichoke sliders have become a staple in my kitchen because they bring together the flavors of a classic dip with the convenience of a handheld sandwich. I love serving these at gatherings, especially when I want something warm and comforting that guests can easily grab. The aroma of garlic and melted cheese fills the kitchen, making it hard to resist sneaking one before they hit the table.
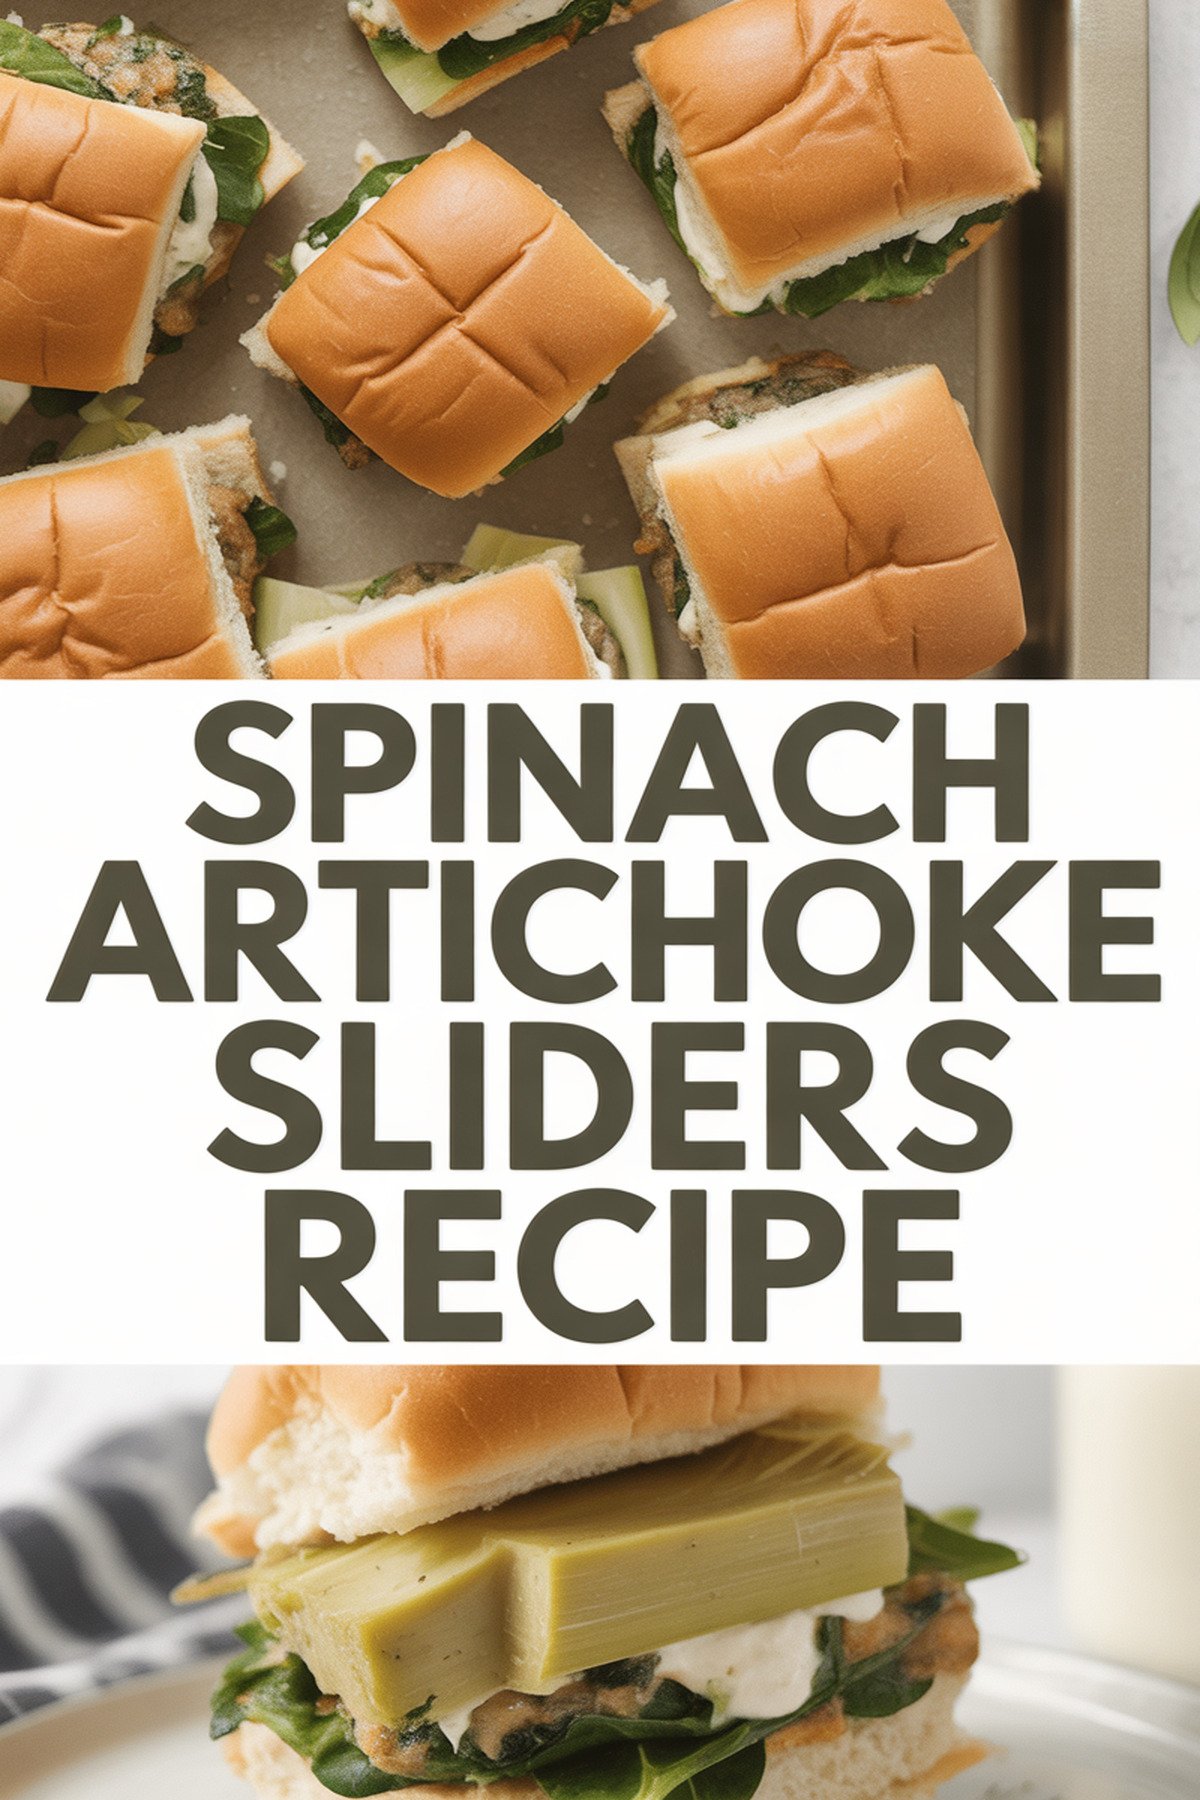
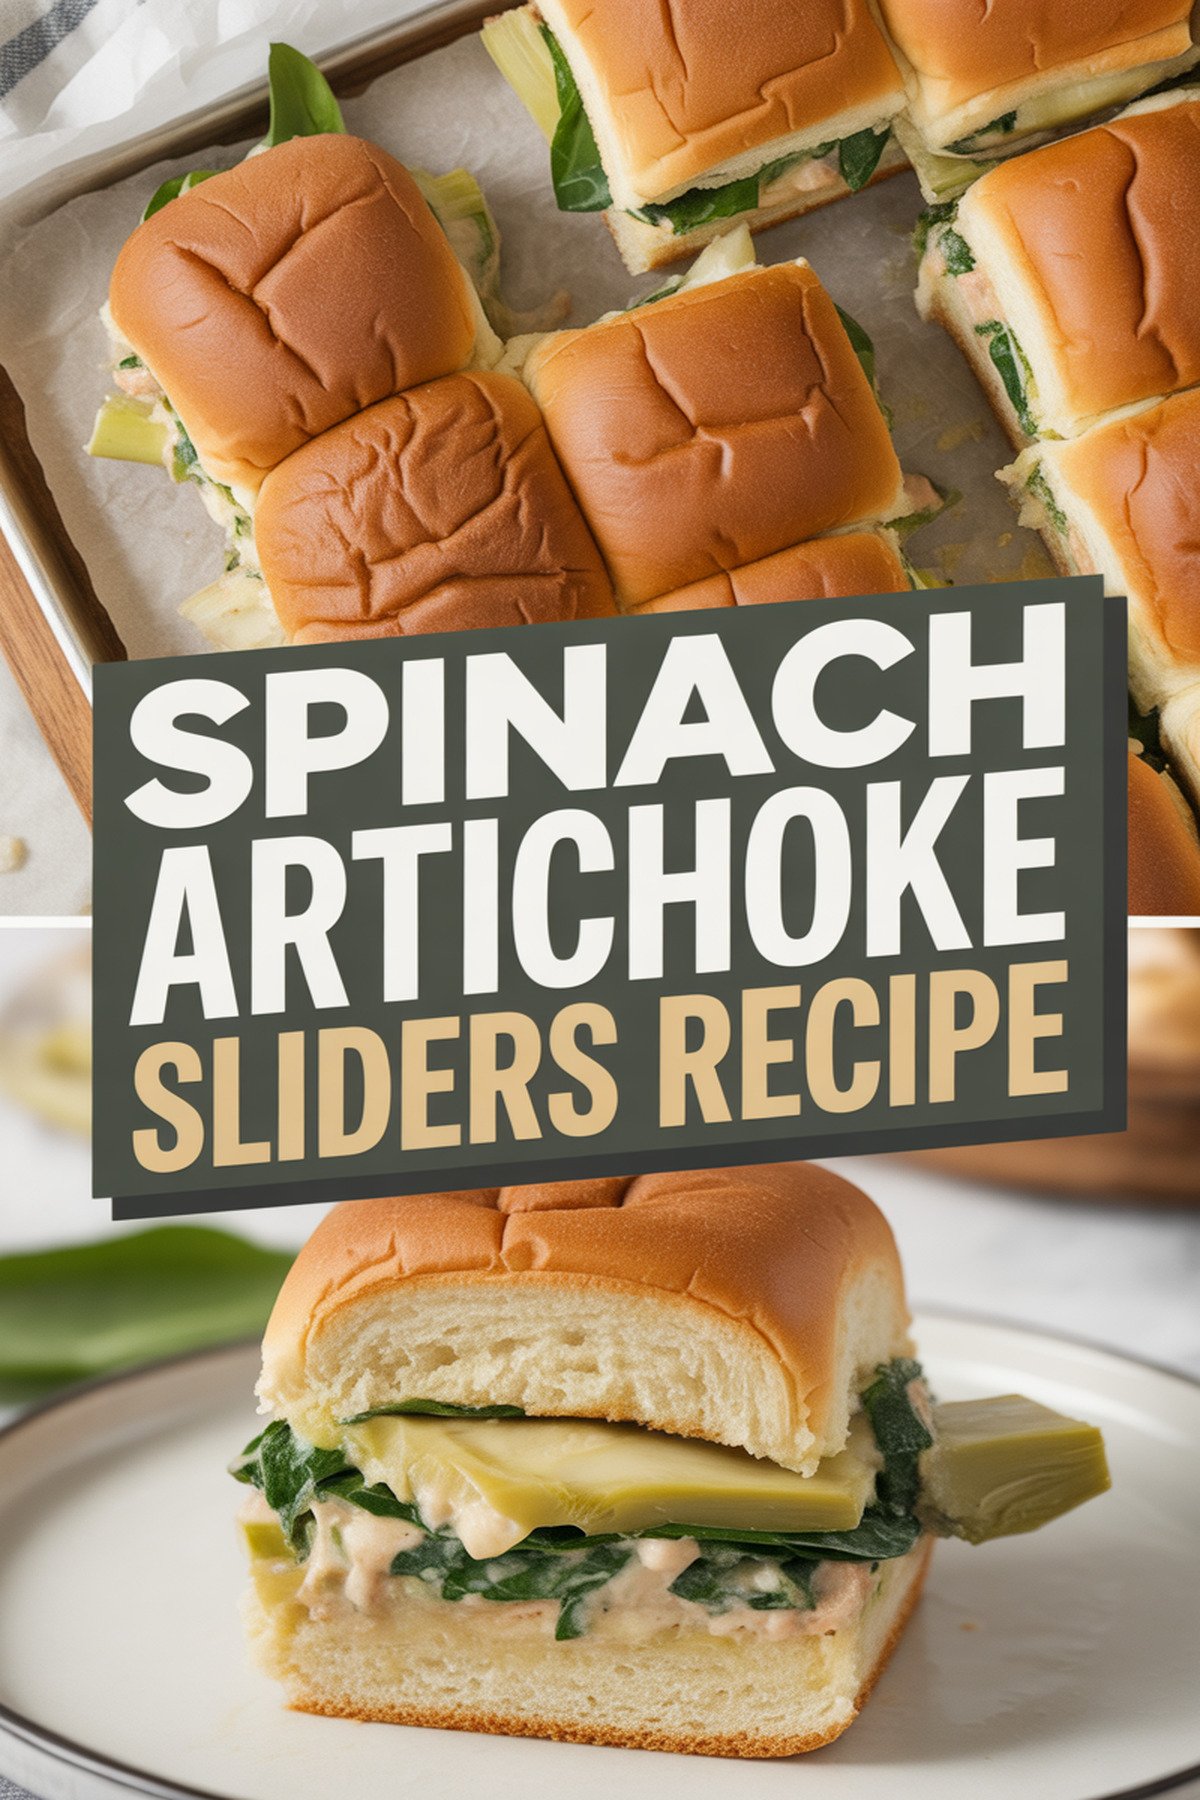
What makes these sliders special is the creamy, cheesy filling tucked inside soft, slightly toasted buns. The combination of spinach and artichoke gives a satisfying texture, while the golden tops add a slight crunch. I often serve them as a hearty appetizer, but they also work well as a main dish for a casual dinner.
They’re practical for busy days because you can assemble them ahead and bake just before serving. The leftovers (if there are any) reheat well, making them a reliable choice for meal prep. Whether for game night or a family lunch, these sliders always disappear fast.

Quick Facts
| Servings | 4 servings |
|---|---|
| Prep Time | 10 minutes |
| Cook Time | 15 minutes |
| Total Time | 25 minutes |
Why You’ll Love It
These spinach artichoke sliders are a crowd-pleaser and easy to make in advance. They combine the creamy, tangy flavors of the classic dip with the fun of pull-apart sandwiches. You’ll love how they fit almost any occasion.
- Great for parties, potlucks, or casual dinners
- Uses simple, everyday ingredients
- Can be assembled ahead and baked later
- Creamy, cheesy filling with a golden top
- Easy to scale up or down
- Kid- and adult-friendly
Ingredients
The ingredient list is straightforward and uses pantry staples plus a few fresh items. Frozen spinach and canned artichokes keep things simple, while a mix of cheeses creates a gooey, flavorful filling. I use Hawaiian rolls for their slight sweetness and soft texture.
- 12 slider buns or Hawaiian rolls
- 1 (10-ounce) box frozen chopped spinach, thawed and squeezed dry
- 1 (14-ounce) can artichoke hearts, drained and chopped
- 4 ounces cream cheese, softened
- 1/2 cup sour cream
- 1 cup shredded mozzarella cheese
- 1/2 cup grated Parmesan cheese
- 2 cloves garlic, minced
- 1/2 teaspoon kosher salt
- 1/4 teaspoon black pepper
- 2 tablespoons unsalted butter, melted
- 1/2 teaspoon dried Italian seasoning
Step-by-Step Instructions
The process is simple: mix the filling, assemble the sliders, and bake until golden and bubbly. Make sure to squeeze the spinach well to avoid a watery filling. Here’s how I do it:
- Preheat your oven to 350°F (175°C). Line a 9×13-inch baking dish with parchment or lightly grease it.
- Slice the slider buns in half horizontally, keeping the tops and bottoms connected. Place the bottom halves in the prepared dish.
- In a large bowl, combine the spinach, artichoke hearts, cream cheese, sour cream, mozzarella, Parmesan, garlic, salt, and pepper. Mix until smooth and evenly combined.
- Spread the spinach artichoke mixture evenly over the bottom halves of the buns.
- Place the top halves of the buns over the filling.
- In a small bowl, mix the melted butter with Italian seasoning. Brush this mixture over the tops of the buns.
- Cover the dish loosely with foil and bake for 15 minutes.
- Remove the foil and bake for another 8–10 minutes, until the tops are golden and the cheese is melted.
- Let cool for 5 minutes before slicing and serving.
Chef Tips
A few small adjustments can make these sliders even better. Here’s what I’ve learned from making them many times:
- Squeeze spinach thoroughly to avoid soggy sliders.
- Use room-temperature cream cheese for easier mixing.
- Chop artichokes finely for even distribution.
- Brush buns generously with butter for a crisp top.
- Let sliders rest a few minutes before cutting to keep filling intact.
Substitutions
This recipe is flexible if you need to swap ingredients. I’ve tried a few variations based on what I have on hand, and they work well.
- Use fresh spinach (sautéed and cooled) instead of frozen.
- Greek yogurt can replace sour cream.
- Swiss or Monterey Jack cheese work in place of mozzarella.
- Canned or jarred artichoke hearts are both fine.
- Gluten-free buns can be used for a GF version.
Storage & Reheating
Leftover sliders keep well and are easy to reheat. I often make a double batch and save extras for lunch the next day. Here’s how to store and reheat them:
- Store leftovers in an airtight container in the fridge for up to 3 days.
- Reheat in a 350°F oven for 10–12 minutes until warmed through.
- Microwave individual sliders for 30–45 seconds for a quick option.
- Avoid freezing, as the texture of the filling may change.
Perfect Pairings
These sliders pair well with simple sides and drinks. I like to keep things casual and let the sliders be the star. Here are a few pairing ideas:
- Crisp green salad with lemon vinaigrette
- Tomato soup or roasted red pepper soup
- Light white wine like Sauvignon Blanc
- Sparkling water with lemon
FAQs
Home cooks often have a few questions about making these sliders. Here are answers to some common ones I get:
Can I make these sliders ahead of time?
Yes, assemble up to the baking step, cover, and refrigerate for up to 8 hours. Bake just before serving.
Can I use fresh spinach?
Yes, sauté 8 ounces of fresh spinach until wilted, cool, and chop before using.
Are these sliders vegetarian?
Yes, as written, they contain no meat.
Can I double the recipe?
Absolutely. Use a larger baking dish or two pans, and bake in batches if needed.
How do I prevent soggy bottoms?
Make sure to squeeze spinach dry and avoid overfilling with the creamy mixture.
Nutritional Note
Each slider is approximately 180–220 calories, depending on bun size and cheese used. Values are estimates and can vary with substitutions.